Connections

I spent a good chunk of time yesterday making side dishes for today’s Easter meal. (It took me much longer than normal to put together a pasta salad and a frog eye salad and some dough for sweet rolls, because I’m so slow and cautious on my feet right now.) While I cooked, I thought about cooking for holiday meals. My sister texted me and asked for the berry cake recipe, my niece texted and asked for clarification on the berry cake (salted or unsalted butter?) It’s been since I was a teenager that I prepared a meal with someone else in the kitchen, and those texts or phone calls have become part of why I love prepping for holidays: shared recipes, asking for help, knowing we are all cooking at the same time if not in the same kitchen.

Easter 2004
Easter 2004 in my parents' front yard

When my kids were growing up, I loved Easter. We would all gather for a meal at my mom’s house in the afternoon. We always had ham and cheese potatoes, with a rotating cast of side dishes. If it was good weather we’d eat in the back yard. Then we’d have an Easter egg hunt. Those afternoons of being in the yard I loved as a kid, vibrant with spring flowers, listening to my kids and nieces and nephews run around and laugh and cheer…I loved them. The days, the people, the setting. 

Easter party 2005
the last babies, Kaleb and Ben, with my dad, Easter 2005

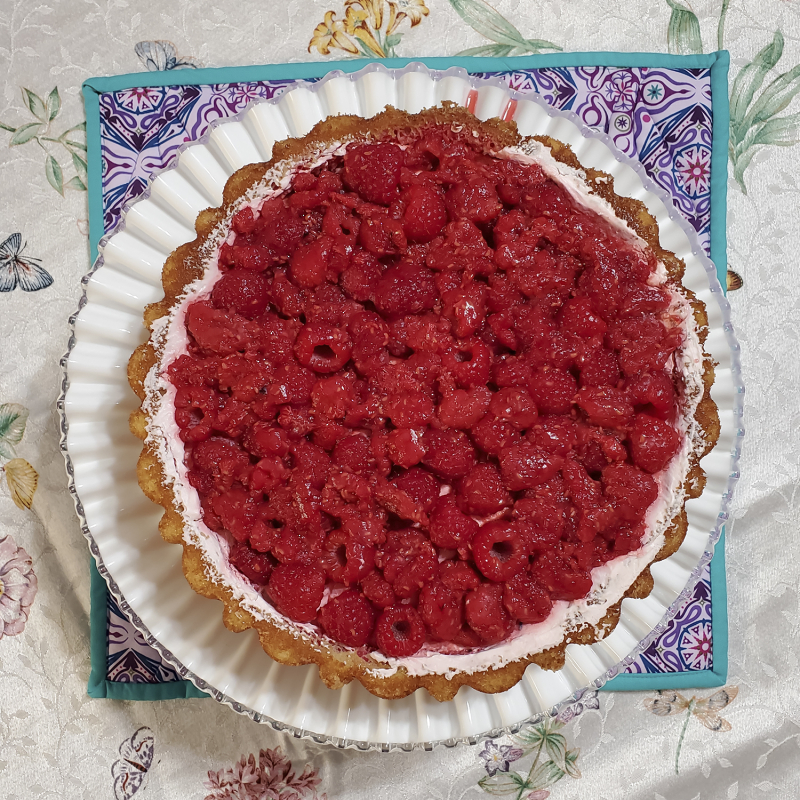
About 12 years ago, I was shopping at Williams Sonoma and came across a Mary Ann cake pan on clearance. As I have always been the provider of desserts at family parties, I was intrigued, a pan with fluted edges and a well in the top to fill with fruit. I snatched it up and made it for Easter that year (after making a practice cake that was kind of a disaster…the pan is SO tricky to get oiled correctly so the cake comes out without breaking) and everyone loved it, so that is what I brought to Easter dinners forevermore. (Well, and sugar cookies for the kids, and also sometimes my lemon cake as well.)

Mary ann cake
my Mary Ann cake from last year, on my mom's cake plate

All these years later, I still have that pan.

What I don’t have: my dad, my mom, my mom’s house. Little kids who love going to grandma’s house. That easy and uncomplicated relationship in my extended family. Even not knowing that it wasn’t easy and uncomplicated. In this time after both my parents are gone, these post-trump, end-of-pandemic times, we are all deeply fractured and have retreated to the safety of our own homes.

And here it is, Easter. A gorgeous Easter Sunday and my spring flowers are perfect blossoms. There won’t be any little kids today, running around searching for candy. The Easter baskets are sparse because adult kids don’t care and the teenager just wants clothes. We aren’t even having the raspberry cake from the Mary Ann pan, because the boys voted for a Skor cake instead.

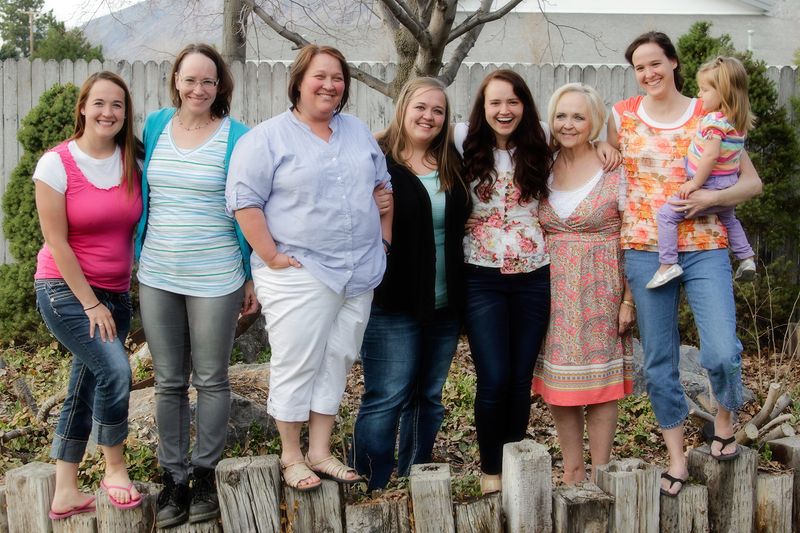
Easter 13 the girls 4x6
all the girls, Easter 2013

But it makes me happy, still, to think of my sister and more than one of my nieces, who have procured Mary Ann cake pans of their own, serving them to their families.

And I will have most of my family with me today. We’ll eat—steak, pasta salad, brown rice—and laugh. We’ll take some pictures among the spring flowers, maybe with bare feet in the barely-green grass.

And the rest of my extended family will be eating, laughing, taking pictures at the same time. It’s not how it used to be, and there is some devastation in that. But hopefully the ways we have influenced each other in the past—cake pans and recipes, encouragement and advice—will continue on in the future.
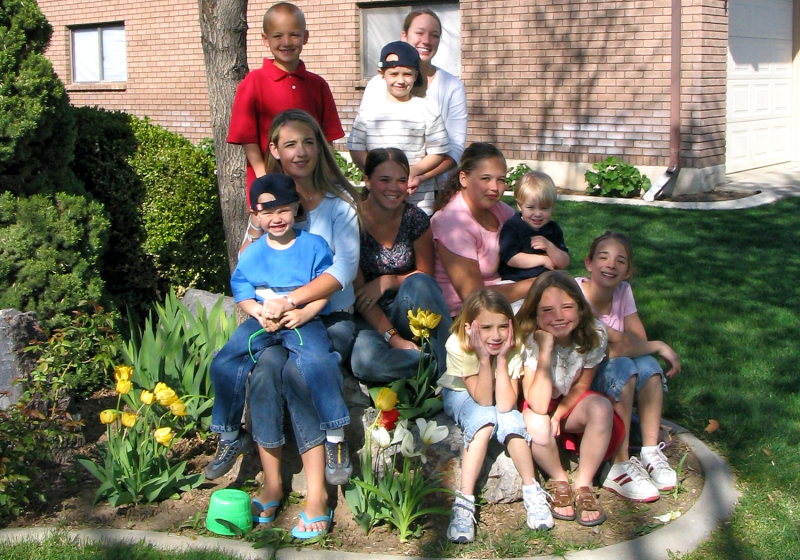
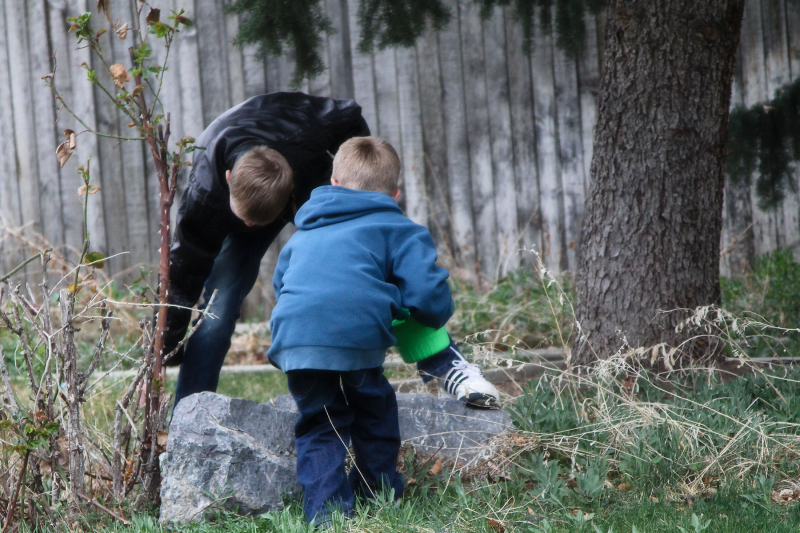
Easter 2012
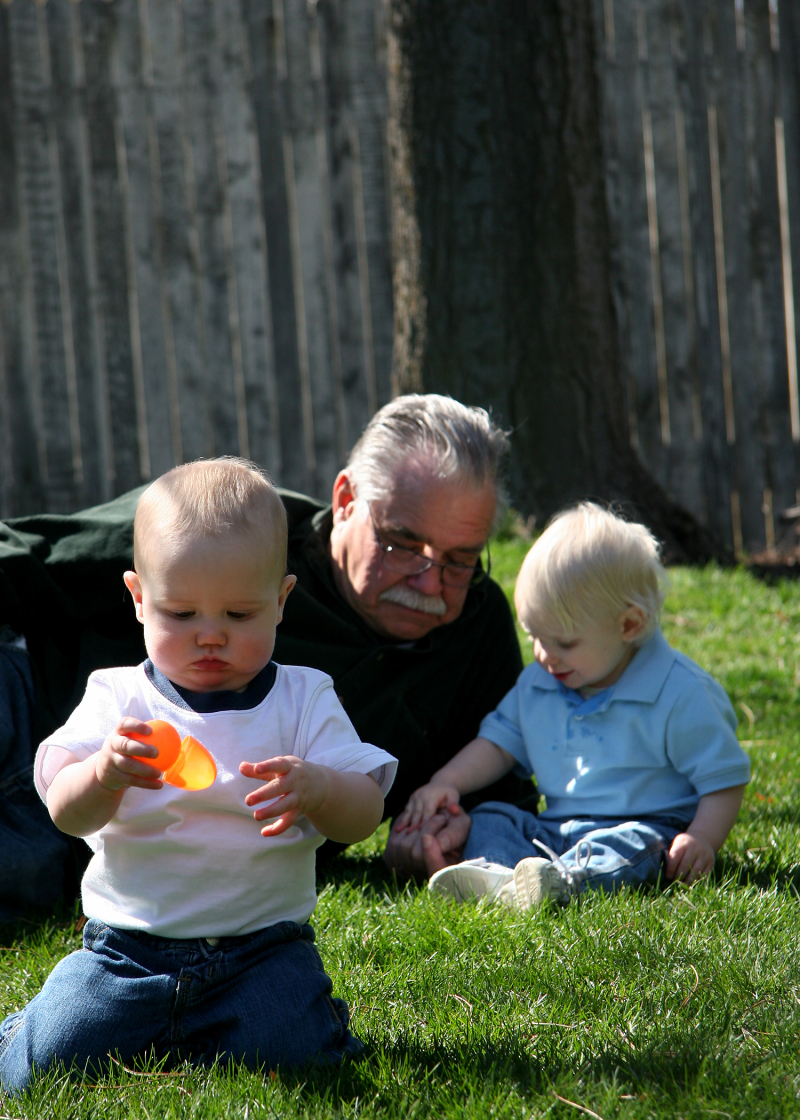
Kaleb and Nathan hunting for eggs, Easter 2012

on Baking

Smell is a potent wizard that transports you across thousands of miles and all the years you have lived.   ~Helen Keller

Here is how it happened: We were traveling with friends last March and stayed at a hotel on the Isle of Palms, South Carolina. I went out for a run on the beach and then I stopped in the little breakfast area for a quick OJ and maybe some toast, and I spotted it:

cinnamon raisin bread.

No one in my family likes this, so I haven’t eaten it in years. But I stood there in that hotel lobby, my skin sticky with two kinds of salt and the moisture from the Atlantic, and I ate two slices, toasted, with butter. The soft sweetness the raisins give counteracted by the kick of the cinnamon, and then the hot salt of the butter, all of it crisp and satisfying.

(I don’t understand not loving cinnamon raisin toast.)

Since that moment, I've brought that deliciousness back into my life. I found a source and I decided: I can buy cinnamon raisin bread. Even if I’m the only one who eats it. Do I always finish the loaf before it gets stale? Well…I confess, yes, usually I do. My kids and husband say “that’s gross!” but I don’t care—it makes me happy. It’s delicious to me, and maybe even more importantly, it connects me to the person I used to be before all of this adult nonsense started, when I could eat some toast and read my book on the patio in our backyard and I didn’t feel guilty over not doing something productive or worried about carbs, when my starting up at the mountains was because I was imagining something lovely, not something dangerous or destructive that might happen to my kids.

I had cinnamon raisin toast and it was a little spark of happiness.

Then my source dried up.

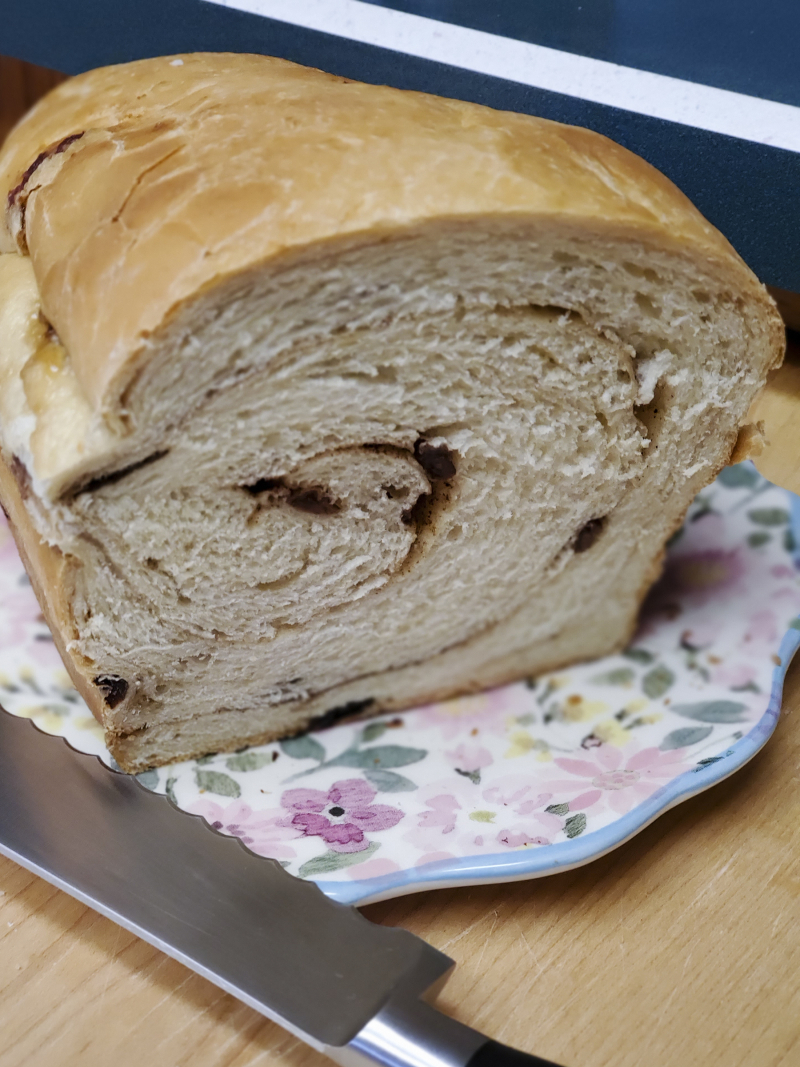
So on Sunday, I decided to make my own cinnamon raisin bread. I know how to make bread, and while I don’t do it often my husband and kids do love a nice soft white loaf, so I made two, one plain and one just for me.

Cinnamon raisin bread

Baking bread is a deeply sensory experience. That scent of rising yeast itself is nostalgic and comforting all at once, but when I opened the cinnamon and nutmeg to sprinkle on my loaf, now there was also the hint of Christmas eves and Thanksgiving eves, late nights up baking, but also chocolate chip cookies (I put a dash of cinnamon in mine) and peach crisp in the summer and apple crisp in September.

There is a secret to baking with raisins. It must be a secret because not many recipes that call for raisins have this step. My mom taught it to me when I was young: you have to soak the raisins in hot water, and then let them sit on something absorbent so they are damp but not dripping. So a half hour before the dough was finished rising, I put my raisins in a glass Pyrex, covered them with water, and put them in the microwave for a couple of minutes. When I opened the door, the hot, raisiny steam flowed out, and instantly, instantly I was back in the kitchen with my mother.

How old was I? Five or six, maybe seven. We were baking oatmeal raisin cookies together and I was helping because no one else was home. The kitchen was still its original orange 1970s self, linoleum floor and leatherette countertops, and I don’t, anymore, remember the exact steps of that recipe, but I remember that: the waft of scent as she poured the soaked raisins onto a clean kitchen towel. And her voice telling me that any time you put raisins into something you’re baking, you soak them like this, so then they won’t dry out what you are baking, but be juicy and more flavorful.

I ate the first cookie, hot from the oven, spiced with cinnamon and nutmeg, the oats just barely crisp, the cookie soft, the raisins plump.

And then there I was, crying in my own adult kitchen. Wishing to be back there, where I felt safe and happy and loved and I didn’t even know that I was carefree, but I was. When I didn’t know how complicated the world was, or even just my own little family, or my relationship with my mom. When the happiness was simple: learning how to do something, and then eating the results of your knowledge.

Plus, just having my mom with me.

And then—it isn’t just that she’s gone. It’s that you can’t hold on to time, except by memory. Because I also thought about the late December afternoon I baked cookies with Haley when she was two, three days after Christmas. I was hugely pregnant with Jake but it was just me and her, baking cookies together. She poured in the flour because that was her favorite part, and when they were baked we sat on the rug on the floor with our backs against the cupboards and ate some cookies, and she had a smear of chocolate on her cheek that stayed there until I bathed her that night. Days later, when I came home from the hospital with Jake, there were still some cookies left, and I ate one and cried my heart out, because I loved this new baby but I already missed those days of just Haley and me. I wasn’t just crying and holding a newborn and eating a slightly-stale cookie; that cookie itself was what I felt, the confusion and love and ache and happiness and sadness and fear and joy.

Just one of so many memories connected to time in the kitchen.

For me, it’s never just a chocolate chip cookie, a loaf of bread, a cinnamon roll. A slice of cake. Baking is about sugar and eggs, butter and vanilla. Sometimes nuts, sometimes raisins, sometimes blueberries or lemon or pumpkin. It is about the delicious thing you get to eat at the end of the process.

But it is also memory. It is also connection. It is always the ghosts gathering around me, the people who are gone, the versions of myself I used to be but can never be again. It is, yes, about sweetness and sugar, but there is always salt there, too.

This morning, I had cinnamon raisin toast for breakfast, sliced from the first loaf I’d made for myself. I didn’t worry about carbs and sugar content. I just sat at my kitchen counter. I slathered butter on the hot bread. I remembered my mom, I remembered myself. My kids laughing in the kitchen with me while we frosted sugar cookies during a snow storm. The birthday cakes (and birthday pies, fruit pizza, cheesecakes, lemon bars), the bread, the pizza dough. I remembered the kitchen in the house I grew up in, and my grandma’s tiny kitchen filled with cigarette smoke and the scent of coffee where she made me toast in the morning. All gone, in one way or another.

But I am still here and I will savor every bite.


Lemon Bundt Cake or, the Secret to Getting the Bundt Cake out of the Bundt Pan

A few weeks ago, I went shopping at Macy’s for the last time. Or, at least, my local Macy’s, which is now closed. It made me think about all of the stores we used to have that are gone: Weinstock’s, Mervyn’s, ZCMI, Sears. We used to have a Nordstrom in our valley, which was lovely. I still miss Robert’s (a craft store), and, even though I haven’t shopped there for a couple of years, it is so weird to me that Toy R Us no longer exists.

I don’t remember the last thing I bought at any of those stores, but I realized today: the last thing I bought at Macy’s is a beautiful copper bundt pan.

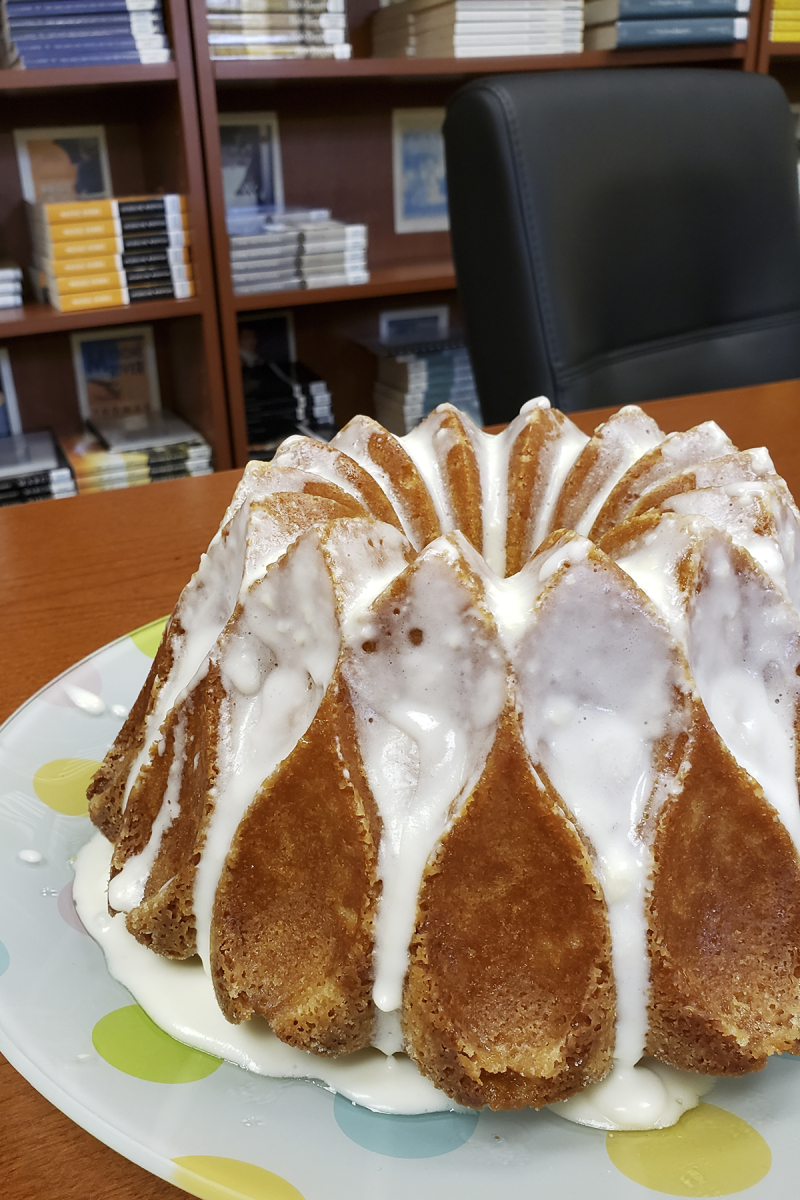
Lemon bundt cake

I totally forgot about it until this morning, when I needed to make a cake for a co-worker’s birthday, and I wanted something pretty and delicious but also, I was tired.

So I made this lemon bundt cake, but I was full of trepidation. Because, you know it’s often complicated to get a cake out of a bundt pan. And that’s the usual bundt pan, but this one is built of peaks and teardrops…a whole bunch of possible cake breakage points.

But I used my knowledge and, sweet! The cake came out just fine, and it was fairly beautiful, and I think it was pretty delicious, too.

Here’s the secret to getting cake out of a bundt pan:

  1. Grease the pan with butter. (I guess you could use Crisco if you’re a savage, that’s totally up to you!)
  2. Pour about ½ cup of white sugar into the pan and swirl it around so that the butter is covered with sugar. Toss out the extra.
  3. Find your baker’s spray and spray away!

The combination makes it so that the cake almost always comes away clean. Now you know how to get that cake out of an intricate pan, you should buy one too!

Here’s a printable version of the recipe I used. I love the addition of a lemon syrup, because it crisps up the edges and adds a delicious sourness. Let me know if you try it out.

Download Cake lemon bundt


Double Chocolate Cookies

(Or, adventures in photographing desserts.)

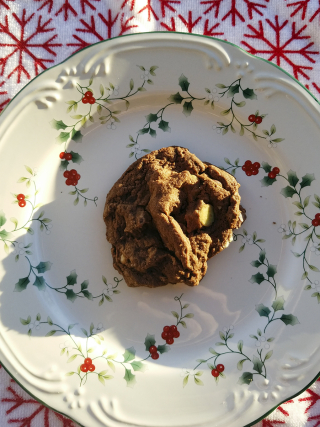
(Actually, I think this cookie has four types of chocolate, but who's counting?)

This is my favorite cookie to bake at Christmas. It's got the best chocolate flavor and because it's not cocoa-based it doesn't feel brownie-esque. I always make it with some mint flavored chocolate chips so the cookies taste like Christmas. Yum. I've shared the recipe on my blog before, but I always have a hard time finding it because it's smooshed in with some other recipes. So I'm sharing it here all on its own.

And because Internet Blogging Etiquette requires a photograph, I took my cookie (the very last one!) outside to photograph. It was bright and cold outside; you can't really tell it's cold from the picture, but you can tell it's bright. I should've gone hunting for better light but it was too damn cold, so I took the cookie inside for a "natural, diffused light" photo in my front room instead. Poor cookie, placed here in unflattering, harsh light!

Ah, well, I did photograph it and then eat it, so it's OK.


A sorensen double chocolate cookiesDouble Chocolate Cookies

1 1/2 cups bittersweet chocolate chips
1 cup butter, softened
1 cup packed brown sugar
1 tsp vanilla
2 eggs
2 1/2 cups flour
1 1/4 tsp baking soda
1/2 tsp salt
1/2-1 cup roughly-chopped pecans (optional)
3 1/2 cups of chocolate chip combination (see instructions)

Melt the bittersweet chocolate chips over low heat until smooth. (You can use semisweet instead, but the bittersweet gives them more flavor.) Beat the butter and sugar (really: it's not a mistake, you don't need any white sugar, just brown) until pale; add vanilla and melted chocolate. Beat eggs in one at a time, until light and fluffy. Stir in flour, baking soda, and salt. Add the pecans if you have kids who won't freak out at the thoughts of nuts in cookies. Then add a total combination of  3 1/2 cups of a combination of chocolate chips—white, milk, dark, mini, or mint—or, if you're not like me and don't obsessively buy chocolate chips in every cocoa percentage, just use one kind. It's up to you. (I don't really measure this part.) The dough will at first seem too soft, but don't add any extra flour. Give it a couple of minutes and it will firm up all on its own. Bake at 350 for 10-11 minutes. Store in a covered container—these seem to dry out quickly if you don't.

And, in case you want to bake your own little delicious chocolate mouthfuls of heaven in cookie form, here is a printable PDF for fun:

Download Cookies double chocolate

Happy baking!


The Secrets to Perfect Pie

I used to make the best pie crust ever. It was easy to work with and baked up perfectly flaky and crisp.

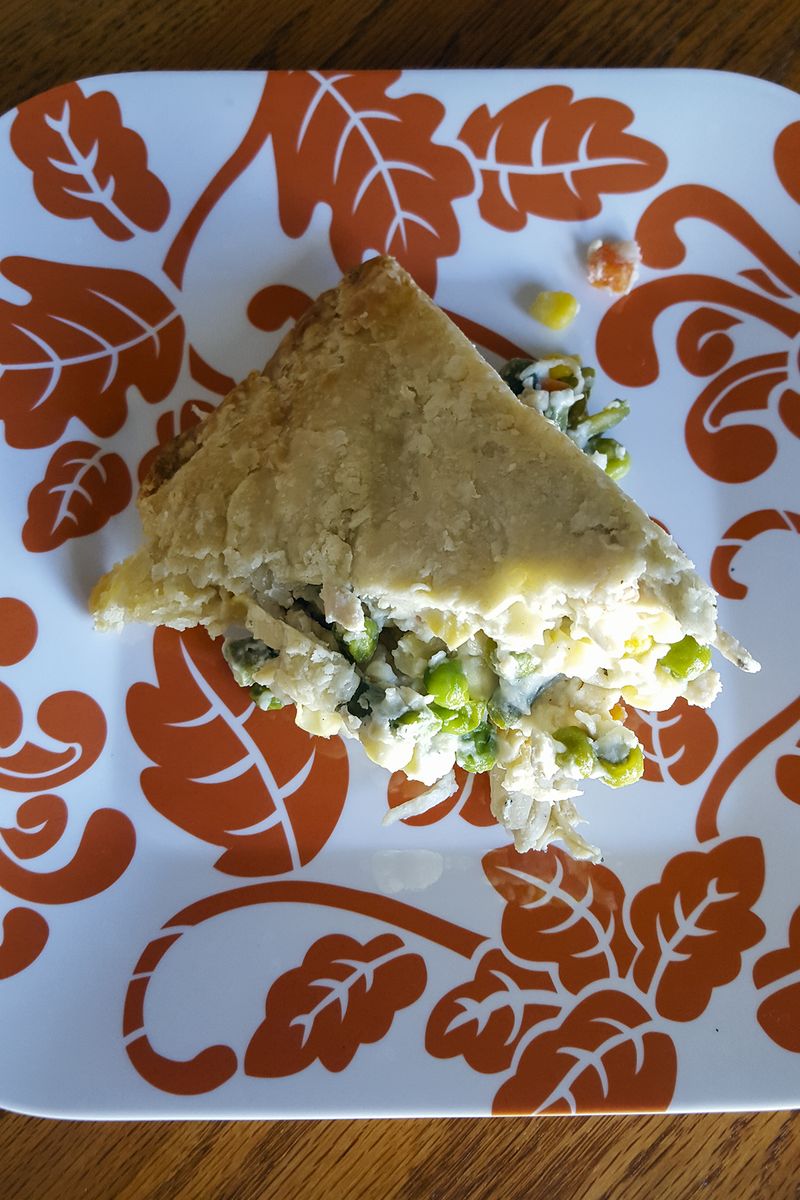
Chicken pot pie

And then, a few years ago, I decided to take hydrogenated oils out of our diet completely. This has been a mostly-easy process because most of the things with HVO are garbage we shouldn’t be eating anyway. (Except for that big bag of meatballs they sell at Costco. Why do they need to imbue meat with HVO? I’m still missing those.)

Easy except for pie. Because that pie crust I’d perfected? It was effortlessly flaky because of shortening. I thought it would be as simple as replacing the shortening with butter, but a light, flaky, just-right all-butter crust has mostly eluded me. Some of my crusts have had the texture of cardboard. Some have just been OK. None of them has been perfectly delicious.

More than anything, though, what has made me crazy about it was just how hard it is to work with butter. (Maybe it would be easier if I bought a food processor…but I don’t want to buy one just to make crust. And part of me thinks I should be able to do it with the tools I already have.) The butter has to be cold to end up with flaky crust, but cutting in cold (or frozen) butter is a miserable experience. It takes forever. And the dough seemed impossible to roll out. One time I nearly started weeping, I was so frustrated with rolling out my crust.

But I persevered. This fall, I resolved to figure out this issue once and for all, so that I could bring some perfect pies to Thanksgiving and put to rest my mother’s doubt that an all-butter pie crust could ever be good. I am the Dessert Aunt, after all. I won’t allow pie crust to be my kryptonite. (That would be cheesecake, which I also think I mastered recently.)

As I also have had problems getting my berry pies to thicken properly, I put that on my list of November projects.

And after several delicious experiments, here’s a list of all the pie secrets I have learned:

  1. Make your crust in a dry kitchen. If you’re doing anything that makes steam—boiling potatoes, running the dishwasher, hanging out while someone handwashes the pans—it’s harder to get the moisture content right. No steam!
  2. Make a double recipe. If you’re going to the effort of making pie crust, double the recipe. If you don’t need all four, freeze two. Your future self will be grateful to have two prepared crusts. But: don’t try to roll out frozen pie crust. It will only make you cry.
  3. Nearly every pie crust recipe is the same. What changes is mostly technique and liquid. I haven’t tried the vodka recipe so I can’t speak to it, but otherwise the basic recipe is nearly always:

2 ½ cups flour
1 tsp salt
1 T sugar
1 cup butter (purists will say only use non-salted, but purists are fancier than I; I use salted butter)
¾ cup (about) some liquid—water, eggs, vinegar, vodka

  1. Fewer eggs, but still: eggs. The recipe I started with (the one with shortening) has one egg for a double crust. I doubled everything (to make 4 crusts) except the eggs. After trying one with eggs and one without, I think the egg makes the crust tenderer and more flavorful, but two eggs made it harder to roll out. So if you’re just making one batch, use ½ of a beaten egg.
  2. Grate the frozen butter. I do this with my Bosch, but if you have a box grater that will work, too. It will just take a little bit longer. Use the big grate side. I mix all of the dry ingredients, then pour half into the bottom of the bowl. Grate the butter on top of the flour, then pour it all back into the bowl with the rest of the dry ingredients. Then, use your pastry cutter to mix everything together. You don’t technically cut it in; mostly you’re just mixing to make sure all of the butter is coated with flour.
  3. Don’t be afraid of the liquid. Even though that really is the frustrating part about making pie crust: the right amount of liquid makes or breaks it. Too little and it won’t stick together, too much and you lose the flakiness. But no one will stick to an exact amount. You just have to try until you get it right. Make sure the liquid is as cold as possible. I fill up a 2-cup glass measure with ice, water, and 2 T of vinegar, and then I put it in the freezer while I do the flour/butter part. You have to get your hands involved with this part of the process. Pour in some liquid and start stirring it in with a rubber spatula—it’s sort of a folding action. Fold, spin the bowl, fold. Add some more water and repeat. Then, when you think it’s ready, start using your hands instead of the spatula. Add a little and see if the whole mass will stick together, by trying to form it into a ball. If it crumbles when you squeeze it together, it needs more water. Add it slowly at this point. You might be able to start making balls in layers—the top might come together but then bottom might still need more water.
  4. You have to chill the dough. I already knew this, but I did try once to roll it out right after I made it. It was an impossible sticky mess. Squish each ball into a disk, and then cover each piece with plastic wrap. Put all four into a Ziplock bag, and squeeze out as much air as you can.
  5. Speaking of rolling out: go read this post at Smitten Kitchen right now. My mom taught me that you should use the least amount of flour possible when you’re rolling out your crust, to prevent too much flour getting in and making the crust dry. But I decided to try this method of rolling out, and OMG. It took three minutes to roll out a crust. Fewer than three minutes. It was so easy. And the crust was still delicious.
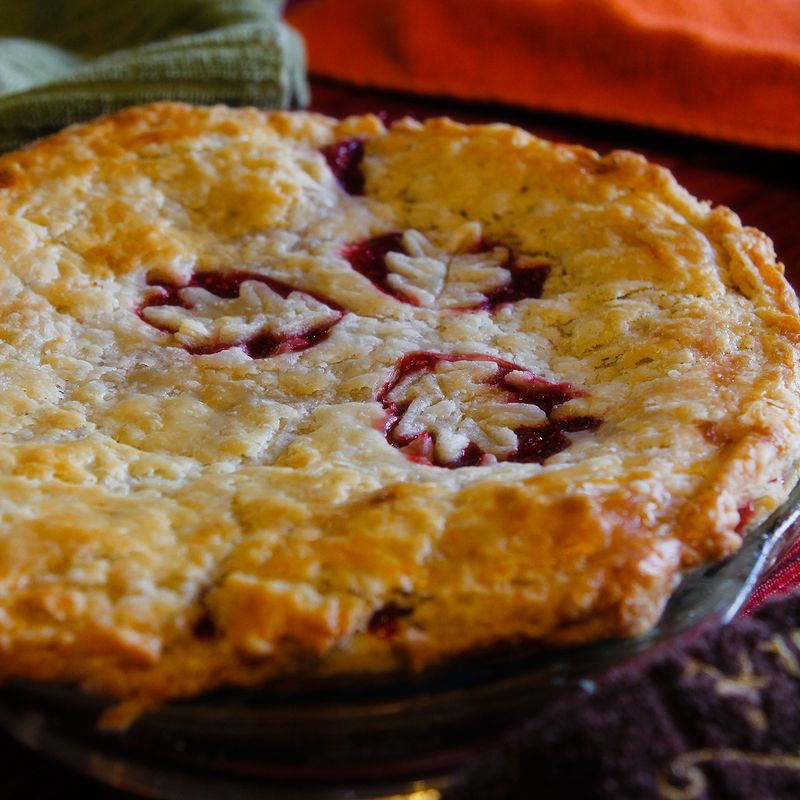
  6. The secret to making non-runny berry pies: cook some of the berries. For a raspberry pie in a regular (non-deep-dish) pie pan, do this:

3 pounds berries (this is 4 of the containers from Costco)
1 cup sugar
2 T Minute tapioca
dash cinnamon
2 T corn starch
1/3 cup cran-raspberry juice
juice of ½ lemon

Wash the berries. In a big bowl, mix the sugar, tapioca, and cinnamon. Stir in the berries and let sit for about an hour. Position a sieve or strainer over a saucepan; pour the (now juicy) berries into the strainer so that the juice drains out. Ad the cran-raspberry juice, the lemon juice, and the corn starch. Stir until smooth. Add about 1 cup berries. Cook over medium heat, stirring occasionally, until thickened. Pour over the remaining berries and stir to combine. Then pour them over the bottom crust in your pie pan. Top with remaining crust. Bake at 400 for 15 minutes and then 350 for about another half hour.

Raspberry pie

  1. Buy the right amount of apples. I like to make a deep dish apple pie, but I am never sure how many apples to buy. This year I paid attention: 8 normal-sized apples. (Not the small ones, in other words.) Some of my other apple pie secrets:
  • After you peel, core, and dice the apples, toss them with some lemon juice and a capful of vanilla. It adds a warmth to the apples.
  • Cinnamon is not the only spice! I put nutmeg, ginger, and cloves in my apple pie. This might offend an apple pie purist, but who cares?
  • Use a combination of white sugar and brown. It helps the filling set up better.

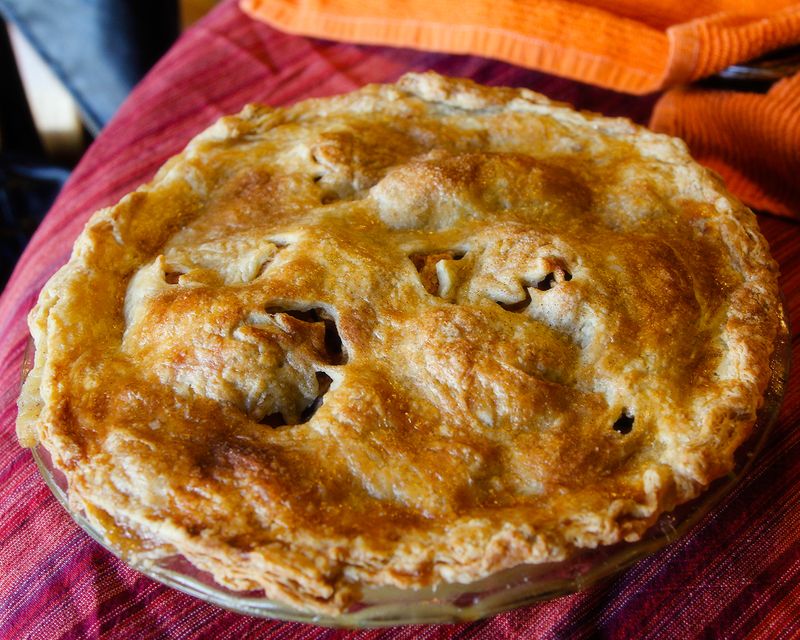
Apple pie

  1. Glaze the pie! I’ve always skipped this step as just seemed unnecessary. This year I glazed both pies with egg mixed with cream. They were much prettier than any other year!
  2. Reheat the pie. I’ve never quite been able to get the timing right on Thanksgiving pies. When do you bake them while your oven is so busy, so that they’re hot when you’re ready to eat? In theory I guess you could bake them while you’re eating dinner, but then you’d have to make them just before dinner (because filling sitting on that uncooked bottom crust will make it soggy). Instead, bake the pie in the morning, and then put the pie, covered loosely with tinfoil, into a 300-degree oven for about 20 minutes. The tin foil will help it not to burn, and it will be nicely warmed. (This is how to reheat a slice of pie for breakfast the next day—or the rest of the weekend, depending on how much leftover pie you have—except just put the slice in the toaster oven. If you reheat your pie in the microwave, I’m not sure we can still be friends!)

So! Those are all of the pie secrets I know. Do you know any I missed?