Use Your {scrapbook} Stash: Multicolored Striped Patterned Paper

Yesterday I was lamenting the withering of blogging. I miss the days of reading the blogs of people who became friends, many of them scrapbookers. I miss reading scrapbooking blogs that were about scrapbooking instead of about design team or kit club assignments. (Not that there’s anything wrong with that…I understand that the industry has to function somehow.) I miss reading about one of my favorite subjects without feeling like I was being sold something. So I complained about it a little bit, on a Facebook group I belong to.

And then I remembered that I, too, have a blog. And I don’t write about scrapbooking very often anymore either!

Partly this is because I have let go of my scrapbookerly ambitions while I focus on writing. I’ve never wanted to be on a design team (because designing layouts with the goal of showing how to use products does not sound like a thing I’d be good at) and I don’t subscribe to any kit clubs (because the longer I scrap, the pickier I get about what products I will use). But it’s also because of low blog stats in general, and fewer comments. And because there aren’t a lot of other bloggers anymore to share the scrapbookery blogging camaraderie with.

Still.

I found myself thinking of Toni Morrison’s advice to writers: write the book you want to read. The same can be said for blog posts! So I decided that I’m going to start blogging more about scrapbooking. About the process, or about journaling, or about using supplies. Share tips or suggestions or journaling prompts. Or just my thoughts. Because after all, it is one of my favorite topics, regardless of who reads or not.

Today I’m thinking about an essential part of your patterned paper arsenal (wait? is it an arsenal? Well…I probably could cause quite a few papercuts if I started flinging paper around. I have a lot.) and that is multicolored stripes.

I learned the power of the multicolor stripe from quilting. It’s quite often what quilters use to bind our quilts (although I’m also fond of little polka dots). For me, it’s nearly always the thing I buy after my quilt is entirely finished. And as it generally takes me years to finish a quilt (not kidding!), there’s no way I could buy any of the same fabrics I used in the quilt. The key to finding a good binding is to look for a stripe that has the same neutral base (white, cream, or grey) as the neutrals in your quilt, and some (but not necessarily all) of the same colors in the same hue. It’s amazing how the striped multicolored binding pulls everything together!

The same thing goes for scrapbooking. I almost never use multi colored striped papers in big chunks, but as smaller accents that are there to tie all the colors together.

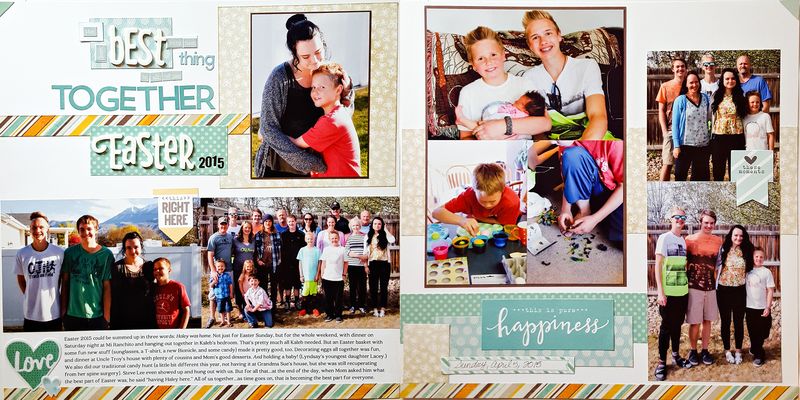
Take this layout:

All of us together easter 2015

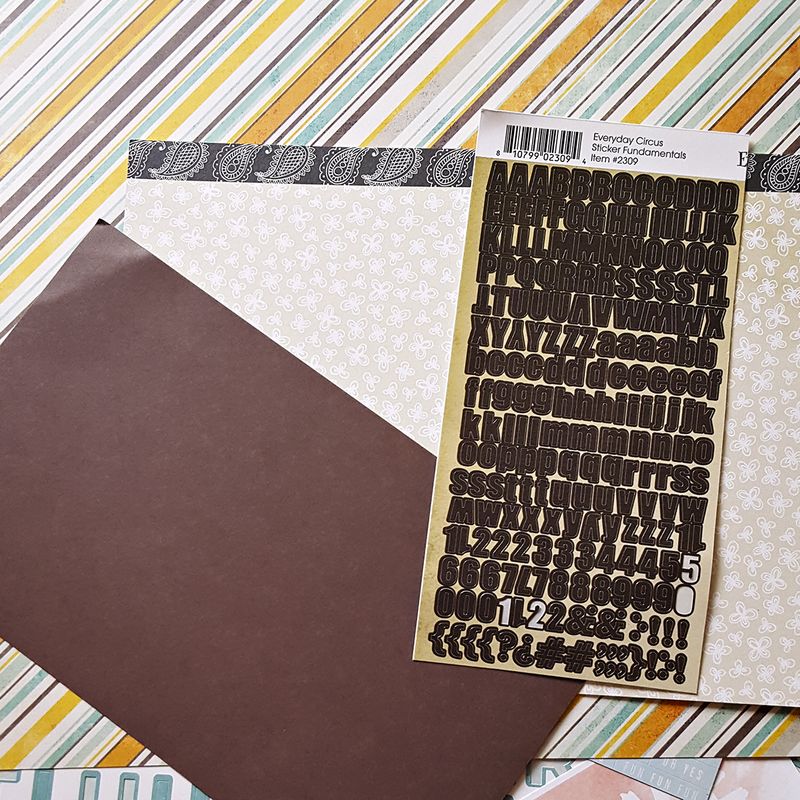
When I first started chosing supplies, I didn’t even know where to start, because there are so many colors in the photos. I almost went with yellow…but decided on light blue and light turquoise. I pulled these supplies:
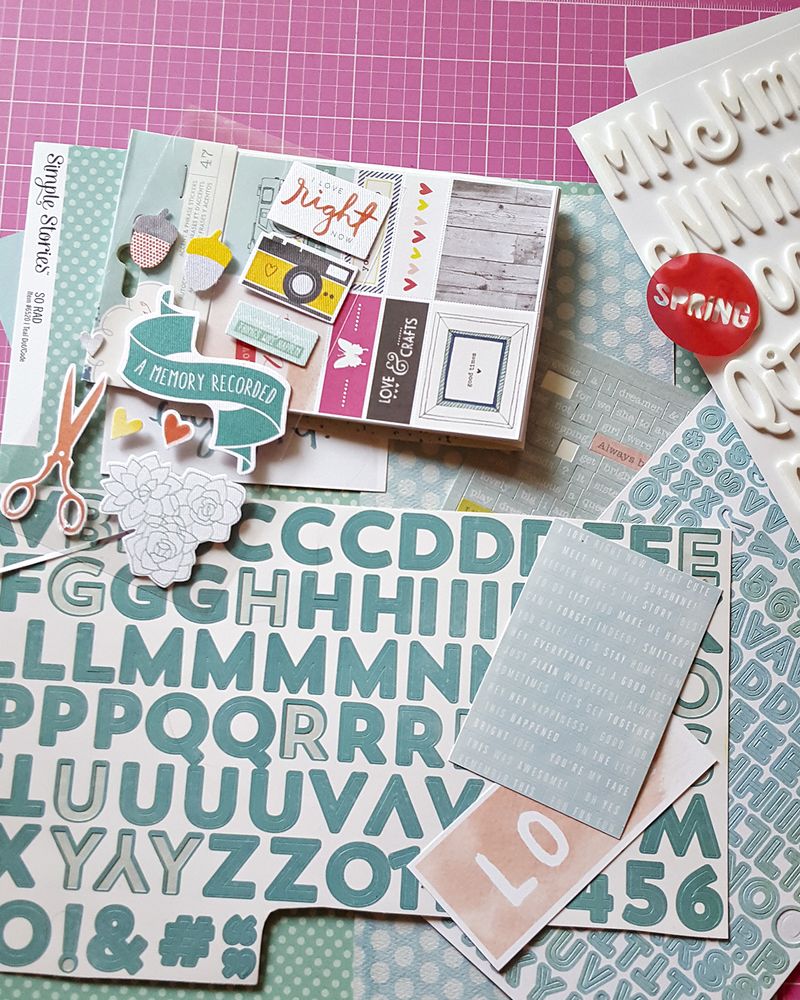
UYS 9 16 2015 supplies pulled
(I almost always pull WAY MORE STUFF than I could ever use on one layout. Then I have to put it all back when I'm done! Also, I took this after I made the layout...so some things I put on the layout couldn't be in this photo.)

But everything felt a little bit blah. So I riffled through my multicolored pattern drawer and came across this (very old…I think it’s from 2010) My Mind’s Eye stripe (from their Fine & Dandy line…I loved that line!) It had the turquoise/blue feel of what I’d already pulled, but it added brow and orange into the mix, and it was just the right amount of snap. Since everything I’d already pulled was mostly monochromatic, I added some brown and tan and got to work. (I didn’t add any orange because I didn’t want the layout to “read” as orange. Even though I love orange! It just wasn’t the feel I wanted.) UYS 9 16 2015 supplies added
Without that stripe, I never would have added orange and brown to turquoise and light blue. But the stripe pulls everything together. And I absolutely never, ever would have thought to add brown and tan to an Easter layout. But the turquoise and blue keep it feeling springy.

That’s one way you can use a multicolor stripe—to add something extra while simultaneously pulling everything together.

You can also start with a stripe that goes with the feel of your photos, and then pull other supplies that work with the stripe. Usually I use the stripe in small pieces, so it doesn’t overwhelm the whole layout. But I have a bit piece of that stripe left. I think I’m going to challenge myself to use a good portion of it in a different way.

Maybe that will be my next scrappy blog post!

Do you like using multicolored stripes on your layouts?

The Return of Use Your Stuff!

It's been a good long while since I wrote a Use Your Stuff post. Since March of last year in fact. What happened is that last March I redesigned my Textuality class and made a bajillion new layouts, and every ounce of my creativity went into that project. I made a lot of layouts and used a lot of stuff! And then I made some other layouts for a different Big Picture class that either may or may not ever come to fruition. Which means that while I was making a lot of layouts, I wasn't really sharing any of them.
 
And then I found this blog, the Use Your Stuff Challenge Blog, which exists solely to encourage you to use your stuff.
 
I felt redundant.
 
Because, you know: same name and everything!
 
I considered changing the name of my challenge, just so that no one would think that I was copying. This means I looked up the word "stuff" in the thesaurus, and then I had some epiphanies:
 
Stuff as in "transportable items" or "items needed for a task" (the kind of stuff I mean) isn't even the first definition of the word.
 
That is: "a skill, an ability, or knowledge that makes a person able to do a particular job." As in: you've got the stuff to use your stuff.
 
I very, very rarely use the word "stuff" in the above manner.
 
Stuff also refers to the basic elements of a thing, in the sense of both the raw materials and the essence.
 
scrapbook stuff = what you use to make a scrapbook layout, but also the essence of scrapbooking. (Well, only part of it, unless you're grouping photos and journaling into your stuff.)
 
All of which is to say: I didn't create a new name for my challenge. Partly because, yeah: I could call it "dig in your drawers" (which is what a similar thing is called in my Textuality class) or, I don't know, ambush your accoutrements, or manage your materials, or some other alliteration-rich title, but "use your stuff" is simple. And it means exactly what I intended.
 
Also because I started my scrapbooking challenge before the use your stuff blog was created, so I'm not copying. (I really didn't discover it until last December.) (I'm fairly certain they didn't copy my idea, either, as A--it's not exactly unheard of and B--my blog gets almost zero traffic.)
 
But mostly because I'm too lazy to go change all of my post titles and categories.
 
That said, I haven't stopped using my stuff—all of it, as much as I can, old and new, trendy and classic. In fact, three weeks ago I looked at the cluttered, overflowing mess that was my New Stuff Box and said, that's enough. (Just to myself. But outloud.) I'm not buying any new stuff until I've made 50 layouts with the stuff I already have.
 
Here is #12, along with a use your stuff challenge:
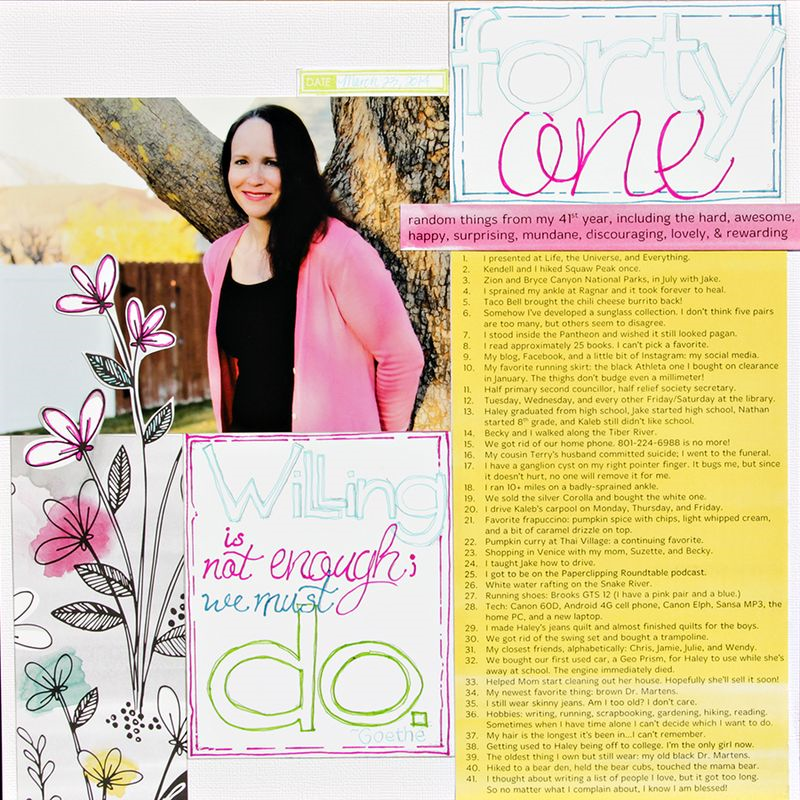
03 march no6 amy at 41
 (This is my layout for the April WCS Gallery.)
 
I used a lot of scraps on this layout. (Also it made me realize that I might look like an Amy Tangerine groupie. Those watercolored solids are just such great neutrals!) (Also, I confess to this thought: is Amy Tangerine a fan of Amy Tan's novels?) So this could be a challenge to use scraps out of your scrap container, whatever shape it takes. But it's not!
 
Today I'm challenging you to use markers.
 
I love drawing titles/embellished quotes, but it's not something I do very often because it takes some time. I'm nearly always happy with the results when I'm done, though. Even though these things never come out perfectly in my creative world. ("Artsy" is not a word anyone could apply to my skill set.) 
 
I confess to tracing.
 
But who cares when it is so fun, right? So, the challenge:
  • Find a quote that goes well with your photos or story.
  • Use markers to turn it into a page embellishment.

Just for fun, my favorite markers/pens:

  • Zebra Sarasa Clip. These are pens, not markers. My favorite pens! There is a wide range of colors and widths, but most importantly, the ink runs smoothly. Love! (I have to hide these or Nathan, who also has an affection for pens, will "borrow" them.)
  • Yes Please markers. (Those come from...Amy Tangerine. I'm so embarrassed.) The colors! The colors! My only wish is that they were double sided with a fat and a thin nib. Also, I bought mine this winter at the American Crafts warehouse sale (which happened to be just down the street from me!), so I'm not sure if they'll be available always.
  • American Crafts Memory Markers. Lots of colors, and dual tips. Perfect!

That was fun! I should do this more often than once a year. So, to motivate me, you should link me up to a layout of yours using markers. Or, if you're not a scrapbooker (why are you not a scrapbooker?), tell me: what is your favorite kind of pen? 


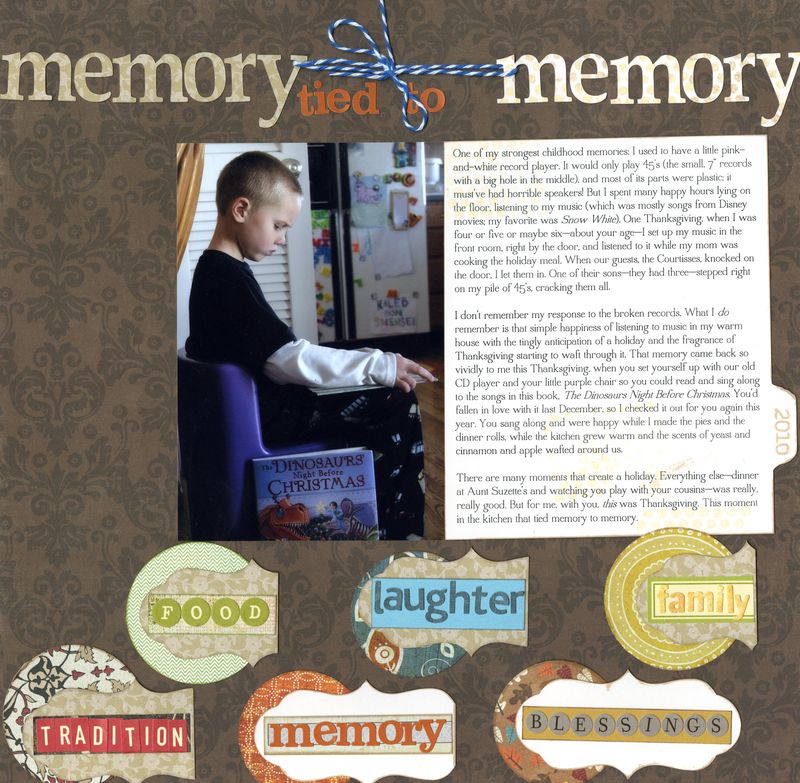
Use Your Stuff #8: New Stuff

One of the things I do to keep me motivated to use my stuff is my New Stuff box. When I get something new, instead of putting it away in its appropriate color drawer, I put it in the New Stuff box (which currently is pretty stuffed with new stuff, as all the new CHA stuff has recently hit the stores here), and when I'm ready to make a layout, I start picking out supplies from the New Stuff box first.

The main reason I do this is because a lot of my scrapping energy seems to be caught up in the new stuff. I wouldn't have bought the new stuff if I didn't have an idea for how to use it, so if I follow through and try that idea on a layout, I use the stuff and I don't forget the idea.

It also helps to remove that "this new stuff is SOOOOO GOOD that I need the perfect photos to use it with" feeling. If you use it instead of waiting for something perfect, you lose that sense of "I need this to be perfect" which is, I think, a major downward spiral on creativity. Instead it becomes just one more useful supply (instead of the most perfect scrapbooking thing you've ever come across). Cut into that piece of patterned paper, tear off some washi from the roll, peel off a few alpha stickers and there you go: you're using the new stuff instead of idolizing it for its newness.

Once I've used some part of something new, then I file it into a color drawer. Often I cut things apart, so for example, a sheet of alpha stickers with red, yellow, and blue alphas would be cut apart and put into the red, yellow, and blue drawers. This used to stress me out, as it felt like I wouldn't be able to coordinate the individual things with other stuff. But that hasn't been the case; for me, it makes my stash much more usable because I have an assortment of, say, yellow shades to pick from when I want something yellow.

Here's this week's challenge:

Find the last three new things you bought. (NOTE! "New" doesn't always necessarily mean "brand new, hot off the press, never before seen by anyone else." Lots of my "new" stuff is older supplies I've bought on clearance. It's still new to me.)

Use all or just a portion of those three things.

Mix in something old as well.

Here's what I made:

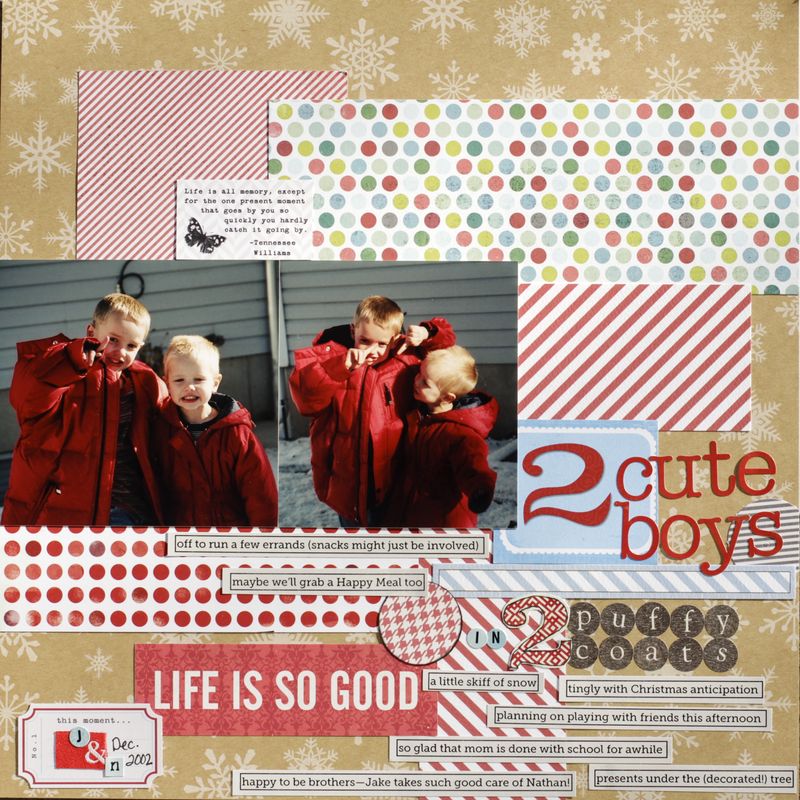
Amy Sorensen use your stuff no8 new stuff
(Lately one of my favorite techniques is using random strips of patterned paper to build up layers of color and texture.) (Also, I've been using some older photos. That coat that Jake is wearing in the photo? I just took it to D.I. last month because it was too small for Kaleb, to which he said "good riddance" as he hated the puffy coat.) (He didn't really say "good riddance" but if he knew what those words meant he would've!)

I used a lot of new stuff on this layout. I'm in love with the new Teresa Collins Stationery Noted line (The red stripes, the quote, and the ticket with the date on it). In fact, I broke my rule for this line: after I used some of it, I put it back in the New Stuff box because I want to use more of it ASAP! I've used it on several recent layouts. The red polka dot is new, and the red and grey alphas. The light blue alphas were from one (or maybe two) of the new Fancy Pants lines. The red ampersand came from my red embellishment drawer (I think it is from Basic Grey) and the "Life is So Good" strip came from my Words drawer. The multicolor polka dot was in my "make cards" scrap box.

How do you incorporate new supplies into your scrapping process?


Use Your Stuff #7: Really, Just Use It!

My friend Amy is hosting a use-your-stash week at WCS, so I've been thinking about the topic even more than usual, so bear with me for a ranty little post.

Yesterday I needed to fit something in my drawer of brown embellishments. I dug around a bit, found what I needed, and then started paying attention. Because, you know: holy cow. There's a lot of brown stuff in that drawer. And there's a lot of stuff in my pink drawer, too. And the yellow one. Even the red (my least-favorite color) drawer has, yes, lots of stuff.

I found myself staring at my color drawers and imagining what it would be like if I used up all my stuff. How many layouts could I make? I daresay that, barring adhesive purchases, I could scrap well into the next decade of my life without buying anything.

When we were growing up, my mom had her sewing room. It was a basement bedroom that had a whole wall lined with built-in cabinets that held bottles of food. (She was a domestic goddess who could preserve nearly every food item you can imagine.) Food, and also fabric. Yards and yards and yards of fabric.

Some of it, I believe, is still down in the sewing room. Most of it, I'd dare say.

Because just like when you clean out your fridge and find a whole bunch of good intentions moldering away in the produce bin, crafty supplies are all about what we intend to do. We have every intention of using the ___________ we just bought (adorable flannel, perfect wool yarn that was 50% off, or, in my case, probably a sheet of alphas). We know just what we'll do. But life, alas, doesn't allow for unlimited crafting time. And good intentions, no matter how certain, just don't always get fulfilled, and then you forget why you bought that ___________, or you fall out of love with it or think it is embarrasingly dated, and your stash either builds and builds monumentally or drains your creative energy.

I don't want to leave this world with a teetering tower of unused scrapbook supplies.

I do want to leave this world with a good representation of my family's memories put down on paper combined with photographs.

So I reminded myself: the whole point of scrapping supplies is, you know, scrapbooking. Using the stuff! And then I used some of the things I found in my brown drawer. One of them (the alphas that spell "thanks") are from 2005. Like...way back when I was pregnant with Kaleb! I remember buying them for a layout I made with photos of Haley riding a horse at my friend Sophia's house, but when I made the layout I did something completely different.


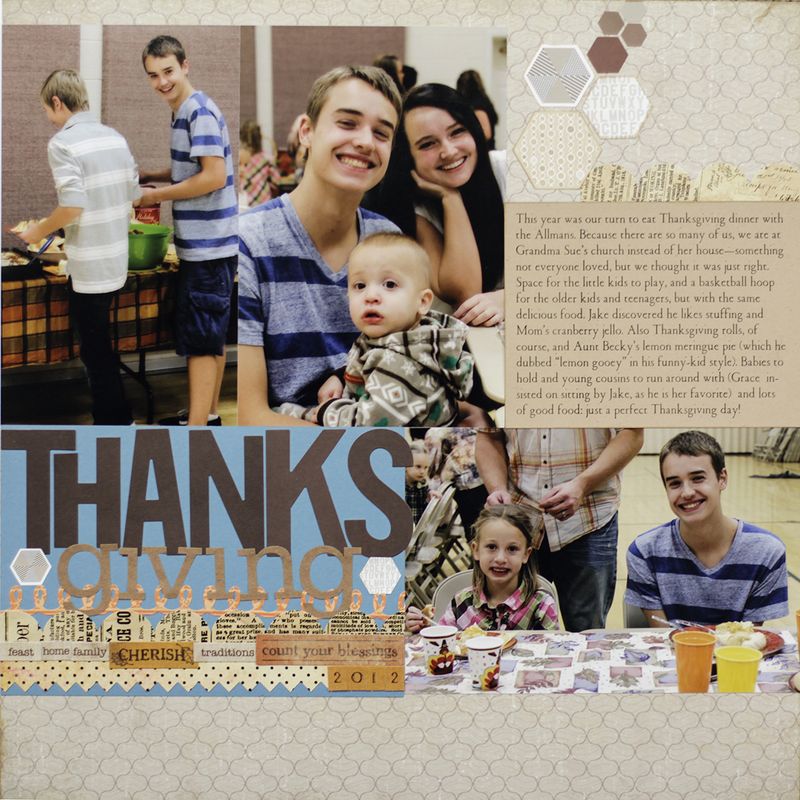
Amy sorensen use your stuff just use it.
(I have no idea why the K looks faded. It isn't in real life.)

Maybe here is a good place to point out that one way to use your older supplies is to combine them with something newer. (Eight-year-old alphas + those new-ish little Studio Calico hexagons, for example.) But really, the main point is that while I was sticking those old Scrapworks letters down I was asking myself Is it embarrassing to use a product that is eight years old?  And then I also answered: Gah, who cares? I keep thinking of something Stacy Julian said in a Paperclipping podcast a few weeks ago: something about how it doesn't matter at all, really, when you've made layouts and layouts and layouts for years, what the layout looks like. It doesn't matter. And she is exactly right: it doesn't. Because while the cute stuff is fun to use and to look at, all that matters is the basics: the photo, the story. Why do I make it so complicated?

So here's my challenge to you this week: use your stuff. Use some of it. It might not be the perfect stuff for that layout. Who cares? What matters is that you got it out of your drawer. What matters is that you use the stuff to tell the story.

(Also it matters that you don't go out as the crazy lady who hoarded paper and stickers, but probably that is a different post altogether.)


Use Your Stuff Challenge #6: Product as Inspiration

I decided awhile ago that I don’t really like using chipboard embellishments on my layouts. I can’t really explain exactly why, except for it seems like 90% of them don’t stick like they’re supposed to, or they curl in that wide, strange way that requires a stack of books to flatten out. I don’t love how the thickness makes dents on the page next to the chipboarded one, and, well...I just don’t love it in my books. (Which is to say: not that there’s anything wrong with chipboard.)

I have decided that my not-liking of chipboard is OK. Yes, it's an entire genre of scrapbooking supplies I am rejecting. (Mostly.) But as I am certain there is no law that says I must buy supplies I don't love, I'm being bold and decisive; I'm taking action. Well, if "not buying chipboard anymore because I know it mostly sits in my drawer feeling unloved" is taking action, then yes! I am taking action!

The last time I did a big purge, I got rid of quite a bit of my chipboard. (I sent it to a friend who loves it!) But I still have a few packages I loved despite the chipboard format, and this TCP Studios alpha was one of my exceptions:

  Product as inspiration close up

Mostly I kept it because I loved the color combination—the different shades of blues mixed with spring green and a titch of red—and didn’t want to forget about it. Because sometimes you can find inspiration in the oddest places, but really: how does one organize ideas?

By keeping them in your stash!

I didn’t just keep those chipboard alphas. I also used them on a layout, which really almost feels like getting a BOGO: inspiration and actual product stuck down on a scrapbooking page. Which makes me feel better as, I confess: the recent new releases have sent me on a little bit of a scrappy buying frenzy. New paper! Some new alphas! (Although...is it just me, or does it seem like there are fewer new alphas? I think it’s Silhouette-inspired, as once you own one you can make a bajillion alphas all on your own if you want. So maybe alpha stickers aren’t selling as well?) A few rolls of washi! Some solid twine, too, which I just got this afternoon and have already used on a layout with you can see HERE.

The product I haven’t bought? Chipboard!

The challenge:

1. Stir through your drawers/boxes/storage compartments to find some sort of embellishment that’s still in its packaging.

2. Use it as an inspiration piece for a layout.

3. Use at least one other "old" supply.

3. Bonus points if you also use some of the embellishments on your layout!

Here’s mine:

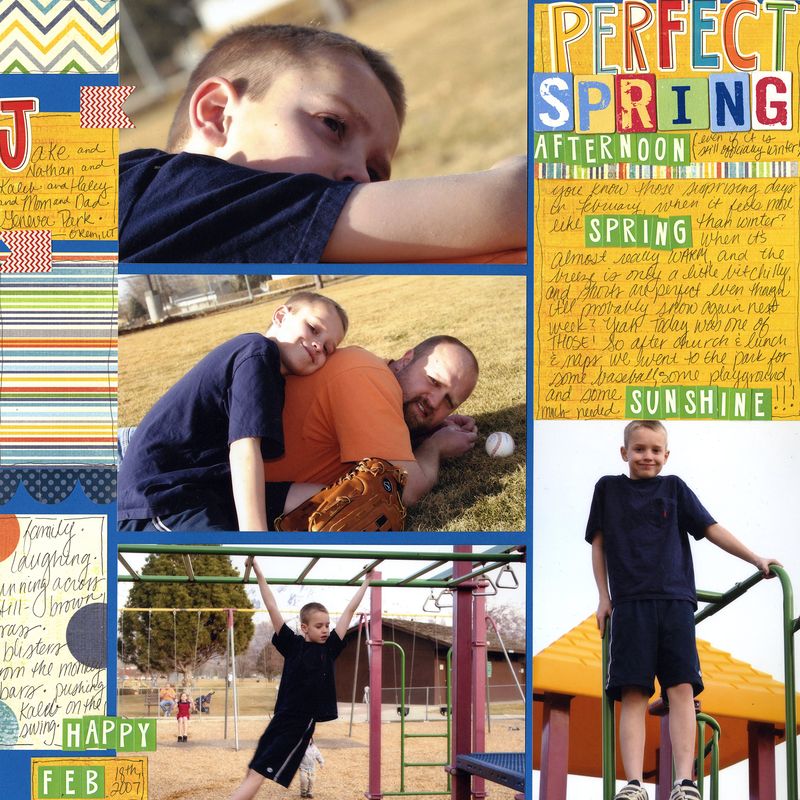
Amy Sorensen product inspiration use your stuff challenge

Those alphas are old. So is the patterned paper. In fact, I know all of these supplies are sort-of old because I remember buying them at Roberts—the craft store here that went out of business last January. Still sad about that. But happy at using some older stuff. And...I love these photos of Jake. I loved that entire afternoon, in fact, and have scrapped about it more than once twice ok maybe five or six different layouts. It was a good afternoon. Notice the date—almost exactly five years ago. I hope we have a beautifully-chilly/warm February 18 this year, too. I'm ready for some fresh air.

Anyway! Hook me up if you play along! And, if no playing along is in your future, at least tell me: Is there a scrapbooking supply you don't really love?

(PS, if you were wondering "does this layout make Amy wish she could write in a straight line?" the answer is yes. I wish I could write in a straight line. Maybe when I'm a grown-up I'll manage it...)


Use Your Stuff Challenge #5: Fussy Cuts

I think much has been written about a commonly disliked word, moist. People seem to have visceral responses to it, perhaps because it is so ickily onomatopoeic. I can see the dislike, but the word that makes me feel naseous is  lorazapam. I can't explain why, other than it should end with an N instead of an M, and when I hear (or read) that word, it sounds in my head like it's said by a dehydrated person (usually my mother, oddly enough) who has those white crusties on her lips.

Hey. I never claimed I was normal.

Another term I don't really like is "fussy cut." It sounds so...nasal. Precise and uptight and old fashioned. But, alas, despite my disaffection for the term itself, it is a useful one. It originated in quilting and refers to the process of cutting fabrics (usually with large or remarkable patterns or images) in a specific way so as to show off as much of the image/pattern as possible, rather than just randomly cutting it as it falls under your ruler. Sometimes this means you try to fit an entire motif within a square, or that you make sure that, say, one specific leaf always falls in the same corner.

You can do the same thing in scrapbooking.

But instead of where the pattern/image/motif falls in a square or a triangle as with quilting, in scrapbooking, to "fussy cut" means to cut around the shape/image/motif. It is an awesome (albeit a little time-consuming) way to use papers with large patterns or shapes, because you get the feel of the patterned paper (the texture, colors, and design) added with flexibility (you can toss the cut-out shapes where ever you want instead of being constrained by how they are printed on the paper).

The most important thing to remember about fussy cutting: use a sharp and small pair of scissors. I have a tiny pair of Gingher spring scissors which are supposed to be used for snipping threads but which I use for fussy cutting. (I know: those of you who sew or who had moms who sewed are right now thinking "don't you ever, ever cut paper using my good sewing scissors," quite possibly in your mother's voice, but it's OK because the cool thing about good sewing scissors is that you can have them sharpened!)

And, another secret for smooth cuts: keep the tension consistent. That means that the hand holding your patterned paper should pull on the paper a little bit, away from the scissors.

Also! If you want to use the back of the paper you're fussy cutting (for, say, printing your journaling, or some other kind of embellishment, or for a card, or for, well, whatever), try cutting the images on the outer edges of the paper.

(Funny story: I used to love cutting into my mom's fabric stash when I was a kid. I'd cut a chunk out of something pretty and use it as a blanket for my baby doll or maybe a skirt for a Barbie if I was playing with Becky, or I'd just cut it because it was pretty and I wanted to look at it. I imagine I frustrated her quite often when she retrieved her fabric to start working on the intended project and found an ameba-shaped hole in the middle. Finally she taught me that if I wanted to cut off some fabric I could only do it from the edge, which was hardly as much fun.)

Oh, and one more: if you are going to be putting your fussy-cut pieces underneath other things, you can use the shapes on the edges of the paper by tucking the missing part under. (You don't, in other words, always have to have an entire image; you can just use part of it.) Or, you can cut one larger piece in half with a similar outcome.

So! Today's challenge is a simple one:

Create a layout using some patterned paper you can fussy cut.

Here's what I mean:

Amy Sorensen Fussy Cut

I confess: this wasn't the speediest layout to make. It took awhile to cut out all those flowers. But I love the way it turned out!

Tell me: are you a fan of fussy cutting, whether in quilting or in scrapbooking?


Use Your Stuff #4: Patterned Paper

Its background was the palest of pale blues—almost, but not quite, white. It had a random sprinkling of stars as its pattern, pastel stars that looked hand-drawn, precise yet sketched all at once. It seemed then (in the dark early days of scrapbooking when almost everything you bought was some variation upon hounds tooth, gingham, or polka dot) to be the most perfect thing ever printed for baby-boy layouts.

I loved that patterned paper.

But I only had one sheet. So I carved into it carefully. I used it to back a photo but I cut out the part covered by the picture. I punched it. I cut it into ever-smaller shapes, the narrow rectangle, the oval, the heart. I used almost every inch of it.

And then my friend Brooke, who was then still, like nearly all my friends, also a scrapbooker, called me from a scrapbook store in California. Where she'd found a stash of my favorite patterned paper, and did I want her to bring me home another piece?

I had her bring me home five.

I carefully filed it away to be used again someday. You know—on the perfect layout. And there it stayed until a future purge, when I desperately hoped that someone else would love it as I once had.

It's a classic scrapbook supply mistake I think, buying too much of something you love. I still do it, I confess, only in a different way: if I fall in love with, say, yellow and grey patterned paper, I never buy six sheets of the same pattern. But I might eventually buy ten different yellow and grey pieces. (And eventually purge five of them, on that sad day in the future when I am tired of yellow and grey.)

Sometimes the allure of a pretty (elegant, chic, cute, trendy) patterned paper is impossible to resist.

But I've learned the hard (and a-little-bit-expensive) way to follow my cardinal patterned paper rule: only (unless it is a neutral pattern, a topic I shall write about another day) buy one sheet of it. In rare and desperate cases of total and complete adoration, buy two.

Of course, then you have to take home and use your paper, and honestly: I use mine. I long ago lost my fear of cutting into a pristine piece. It is just paper and no matter how much I love it I will always also find something else I love.

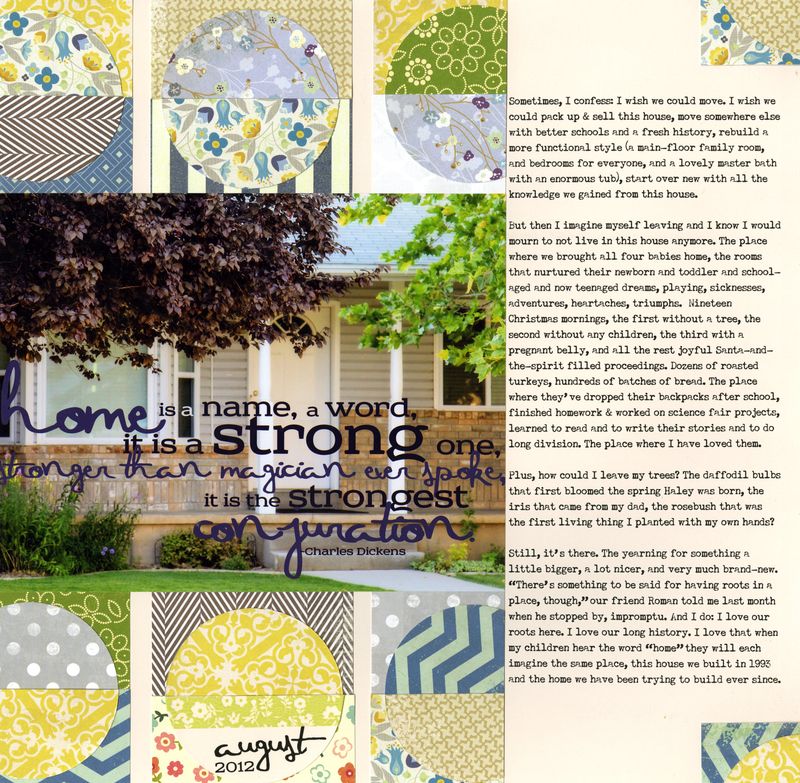
Lately one of my favorite ways of using a patterned paper is in small chunks. You can make entire sunbursts using only color-coordinated scraps; you can punch a surprisingly large amount of shapes from a leftover bit. (Currently, my curvy square punch gets the most use.) If you have a piece that's 8" wide, you can cut almost anything you want with your Silhouette. (Another topic I shall eventually write about.) One of my favorite recent layouts included these circle squares, which I don't really have a name for but which I love inordinately:

September write house amy

Using smaller pieces means you get to revisit something you love more than once, both when you’re making layouts and later, when you flip through an album and spot it here & there. But perhaps what I love best about all this cutting into patterned paper is that it gives me a sort of simultaneous happiness: I'm using stuff I love so I don't feel guilty about buying it, but I'm saving some of it for later so I don't worry about running out.

Pure scrappy happiness!

Here's another recent patterned-paper rich layout:

Amy sorensen patterned paper

I used six scraps of patterned paper; the circles are punched and the bracket pieces are cut with the Silhouette.

If you, too, are itching to use some of your patterned paper, here's today's Use Your Stuff challenge. Make a layout that:

1. Uses an entire sheet of patterned paper for the base.

2. Mixes patterns based on the paper’s mood. "Mood" in patterned paper is sort of a nebulous and individual thing, but it also is a great way of combining things. Start by finding a paper that feels to you like it connects to the layout’s topic, and then look for other patterns that have the same feel. Often it is color that creates mood, but size, repetition, and shape of the pattern do too.

3. Uses some patterned paper cut into smaller shapes. You might even try cutting just one shape out of an entire, pristine 12x12 just so you know you can.

For some other ideas on using patterned paper, click HERE.

Happy scrapping!


Use Your Stuff Challenge #3: Monochrome with a Pop, plus a Sneak!

(I know! You didn't think I'd manage it two weeks in a row, did you? It's OK. I didn't either. I often doubt my own reliability.)

I believe that a bit part of being able to use your stuff (instead of getting weighed down by it) is being able to organize it in a way that works for you. I have most of my scrapbooking stuff organized by color; it's all in those 12x12 Sterlite drawers, with one drawer for embellishments and one for paper for the entire rainbow as well as neutrals, black, and white. I do have a few theme drawers: Christmas, Halloween, Birthday, and Baby, but everything else is by color. It took me awhile to figure out that that's what works best for me.

An added plus to having your supplies organized by color is it makes it so easy (and really fun!) to make monochrome layouts.

I confess that I don't like the word "monochrome" because it sounds so...well, colorless. But a monochrome layout is really an explosion of color; it just happens to be only one. Using a few embellishments, some alphas, and some patterned paper (and, ok...maybe some ribbon? Or some washi? Or, if I ever get brave enough, some misting?) of the same hue gives you a chance to think of your supplies in a different relationship. How does this yellow thing work (or not work!) with this yellow thing? Is there some other yellow thing that would go better?

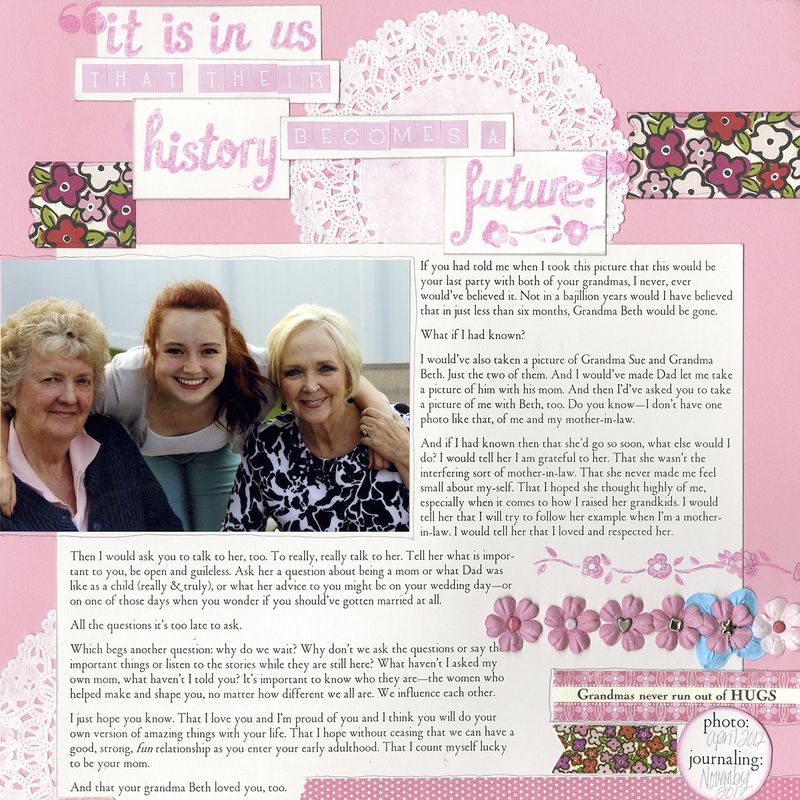
I made a monochrome layout because I've been thinking about pink a lot, lately:

Monochrome pop
Pink was my mother-in-law Beth's favorite color. I found this photo of Haley with both of her grandmas and the journaling just sort of fell into my head and then out my fingers (love when that happens!) and I knew I had to make the layout pink. And I didn't just use my own stash: the flower stamp, the pink Prima flowers, and some of the brads came from the scrapbooking supplies I inherited from Beth.

Want to play along? Here's this week's use-your-stuff challenge:

Make a monochrome layout using:

  • Something new! One of the best things to get over that "this new thing is too special to use" feeling is to use it as soon as you can. On this layout, the flower patterned paper and banner sticker are both brand new, as are the alphabet letters I used to stamp the title.
  • A unifying neutral. In my layout, the neutral is grey: I used a grey pen to write the date and to outline around the photo and the embellishment and grey ink on the edges of the journaling and the background. It gives the layout a consistent feel as well as a subtle breaking-up of the colors.
  • A pop of a different color. This is something I learned from quilting: toss in a little bit of a contrasting color. In my layout it's the sky-blue flower. The extra little pop adds excitement!

And a suggestion on monochrome layouts: try to use the same tone of color. There are warm pinks (the rosy kind) and cool pinks (with a blue tone), for example, and they each carry a different mood. Stick with one hue then play with the tints (light) and the shades (dark) to add contrast.

And! as an added bonus, here is my sneak of my layout for the WCS December gallery:

Beauty is a light a sorensen sneak
It's not really monochrome, but it uses something new (an alpha stamp from Close to my Heart) which might be one of my favorite new things. And...I really gave away zero clues to the December topic! (Which is sort of a clue in itself.) If you want to see more sneaks, check the WCS Facebook page throughout today.

Make sure to link me up if you decide to take my challenge to use some of your stuff.


Use Your Stuff Challenge #2: Die Cut Tags

More than a year ago (almost two, let's be honest!), I wrote a series of posts at Write. Click. Scrapbook. about using your scrapbook supplies (instead of hoarding them while you wait to find the perfect use for them until you wait so long you no longer love it). It's one of my favorite series I've written there because I really do try to use my stuff and not be bothered by the it's-not-new problem, or the I-want-to-be-trendy feeling. You can read them here:

Day 1 (patterned paper)
Day 2 (alphabets)
Day 3 (tools, like stamps and punches)
Day 4 (bits & pieces)
Day 5 (how organizing stuff makes it easier to use stuff)

After that post I wanted to do a regular feature on my blog: challenges to use your stuff.

And I did exactly one.

It's time to take up my goal again of a weekly Use Your Stuff Challenge.

This week's focus is on die cut tags. It seems like these used to come out as a part of every new line. I think they're not as common anymore, but I'll bet you have some in your stash. Some of them come on a sheet and you have to punch them out; others are in a package. Either way, find a few and use them! They are good for a variety of things:

  • write the date and/or place of the photos
  • arrange three or four similar ones in a block, then write your journaling across them
  • use them as the base for your title
  • create a collage of die cut tags as an embellishment
  • stamp, paint, or doodle on one (or a few)
  • use a circular one to replace an "o" or an "a" in your title

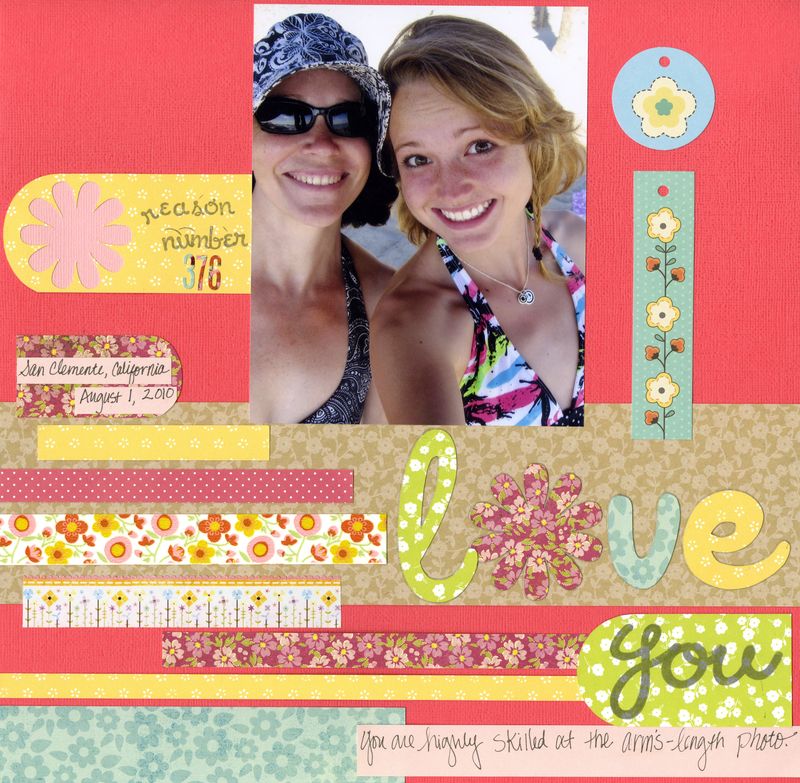
For my challenge layout, I used a round tag and a narrow one to make the letter "i":

Tags

Want to play along? Here's the challenge:

Make a layout using at least two die cut tags and some scraps of similarly-themed patterned paper.

Even though we are at the beach in this layout, I didn't want it to be about the beach. I just wanted to make something girly and pretty, so I used a bunch of floral patterned paper scraps.

Link me up if you play along!


Use Your Stuff Challenge #1: Rub Ons

Remember back in March, when I did a week-long series at WCS about using your stuff? (That link will take you to the first day.) Someone suggested I start doing a regular Use Your Stuff Challenge and here it is, just four months later, and I finally have my stuff together enough to start.

The point of the Use Your Stuff Challenge is to dig into your supplies and use some of the stuff you've been hoarding. It's also going to encourage you to mix older supplies with new ones so you can get over that "I can only use new stuff" feeling. It might also make you giggle in recognition a little bit when you recognize a supply that you, too, once upon a time fell in love with, bought, and then forgot to use. Let's get started!

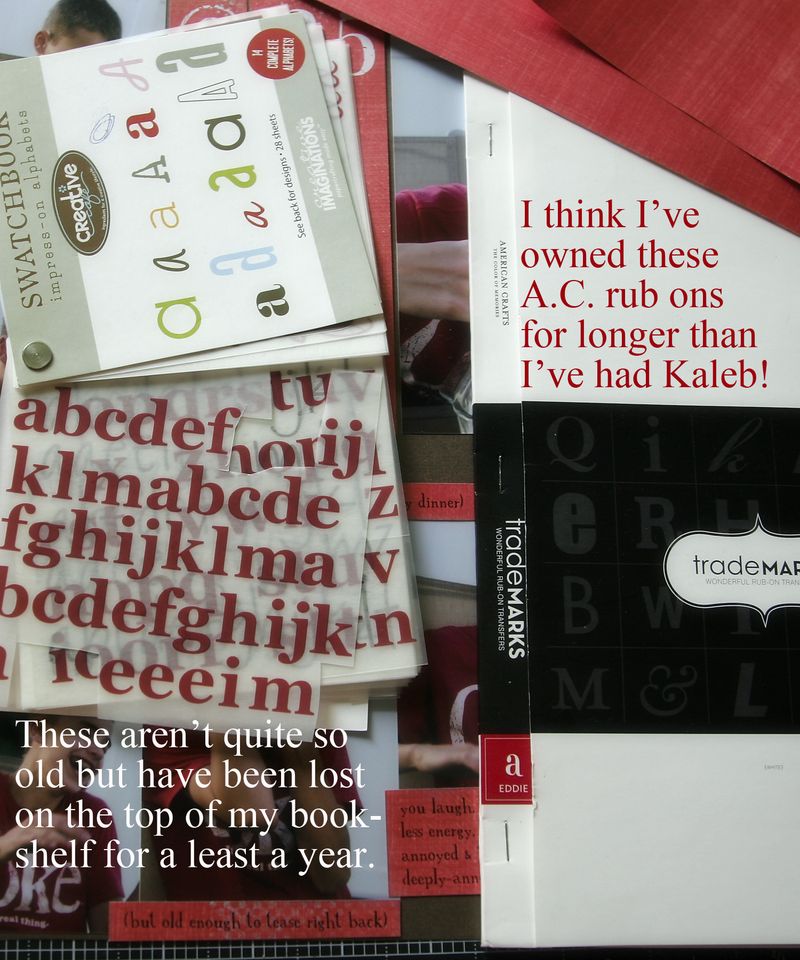
Today's challenge: use some old rub ons and one of your newest sheets of patterned paper. Here are the two old sets I used:

Uys rub ons 01 
(As 90% of my supplies are alphas, you'll see a lot of alphas. That's just how I roll.) The red paper is the B side of a Fancy Pants birthday paper. (I usually like the B sides of paper the best.)

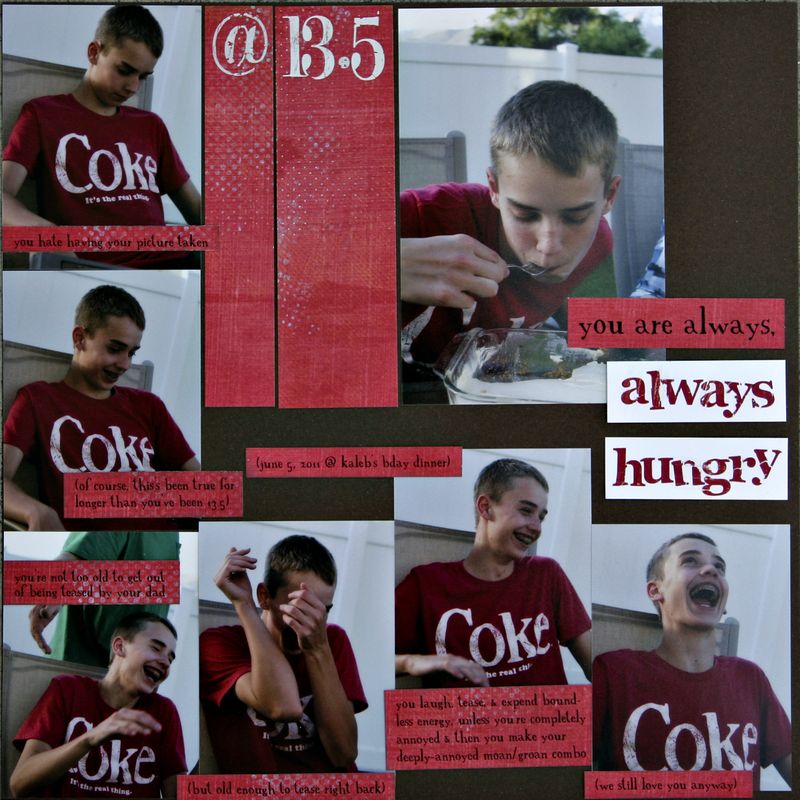
I put a new spin on them by roughing them up a little bit. I wanted to mirror the grungy sort of lettering on Jake's Coke shirt (one of his favorite pieces of clothing ever) so, with the white rub ons, I scratched some of the white off before I rubbed the letters down. That wouldn't work with the red letters, though—the rub-on substance is more rubbery, so trying to scratch it off in pieces just caused me to ruin the entire letter. Instead, I rubbed them on messy, rubbing on a bit of the letter, then lifting off the remaining part and shifting it just a bit. Then I sanded them to make them even grungier. Here's the result:

Uys rub ons 02 layout 

(In case you can't read the journaling, it talks about some of Jake's 13.5 characteristics.)

Want to play along? Make a layout that uses an old set of rub ons and a new sheet of patterned paper. Then share a link!